
Last updated November 20, 2026
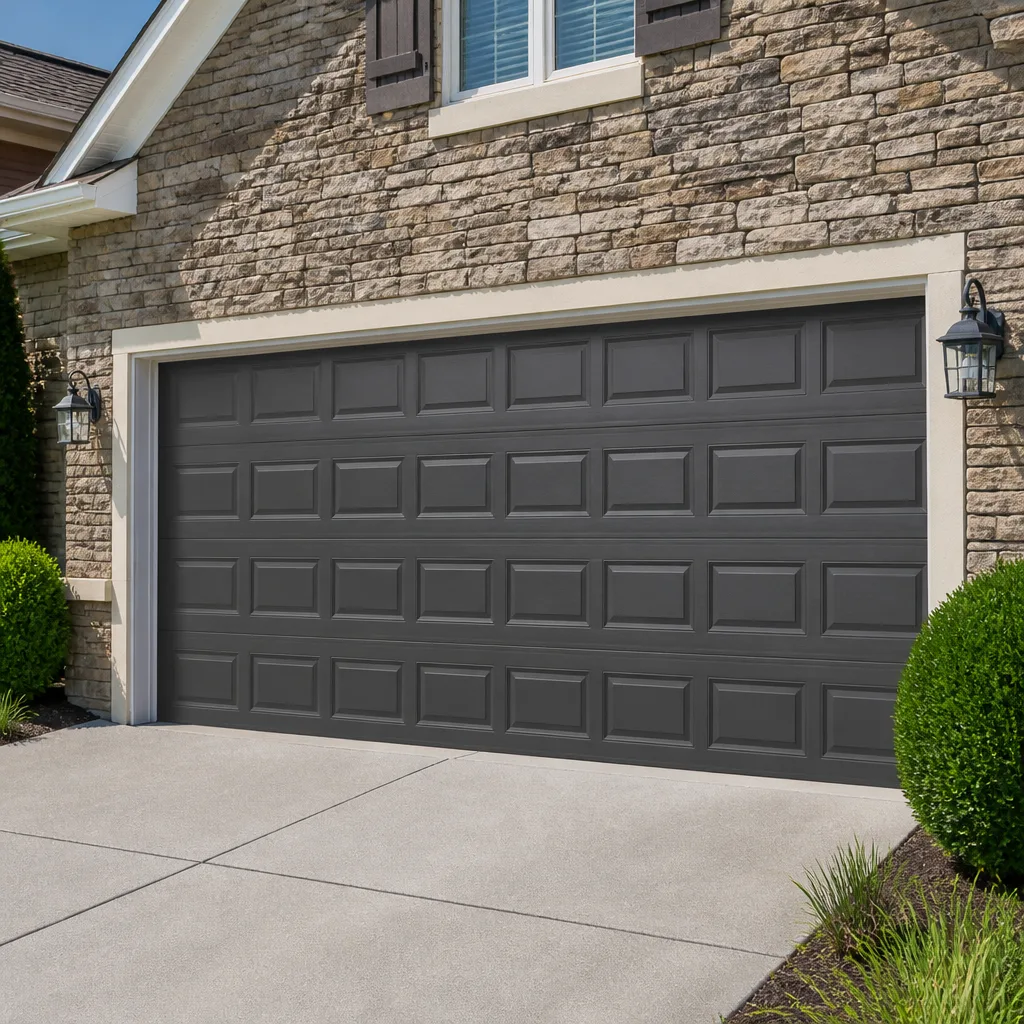 Raised-panel steel
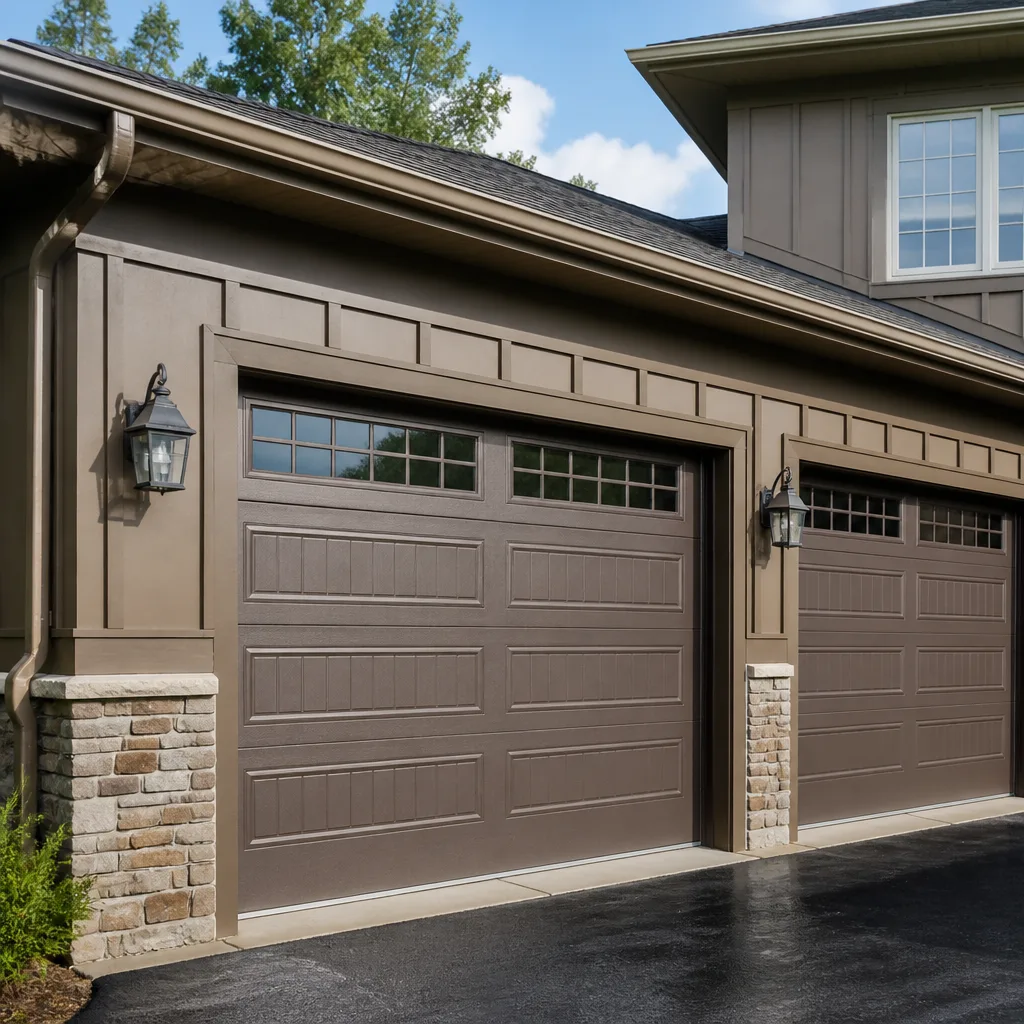
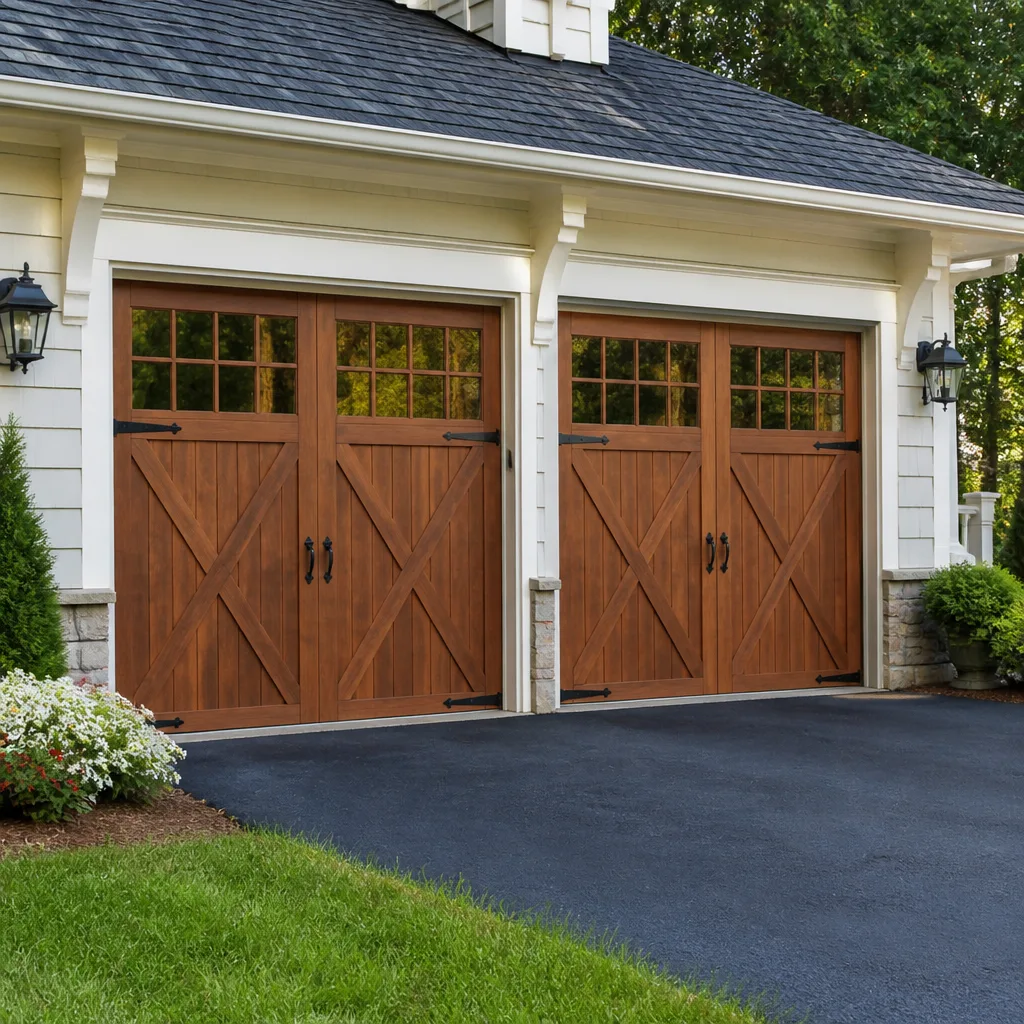 Carriage house
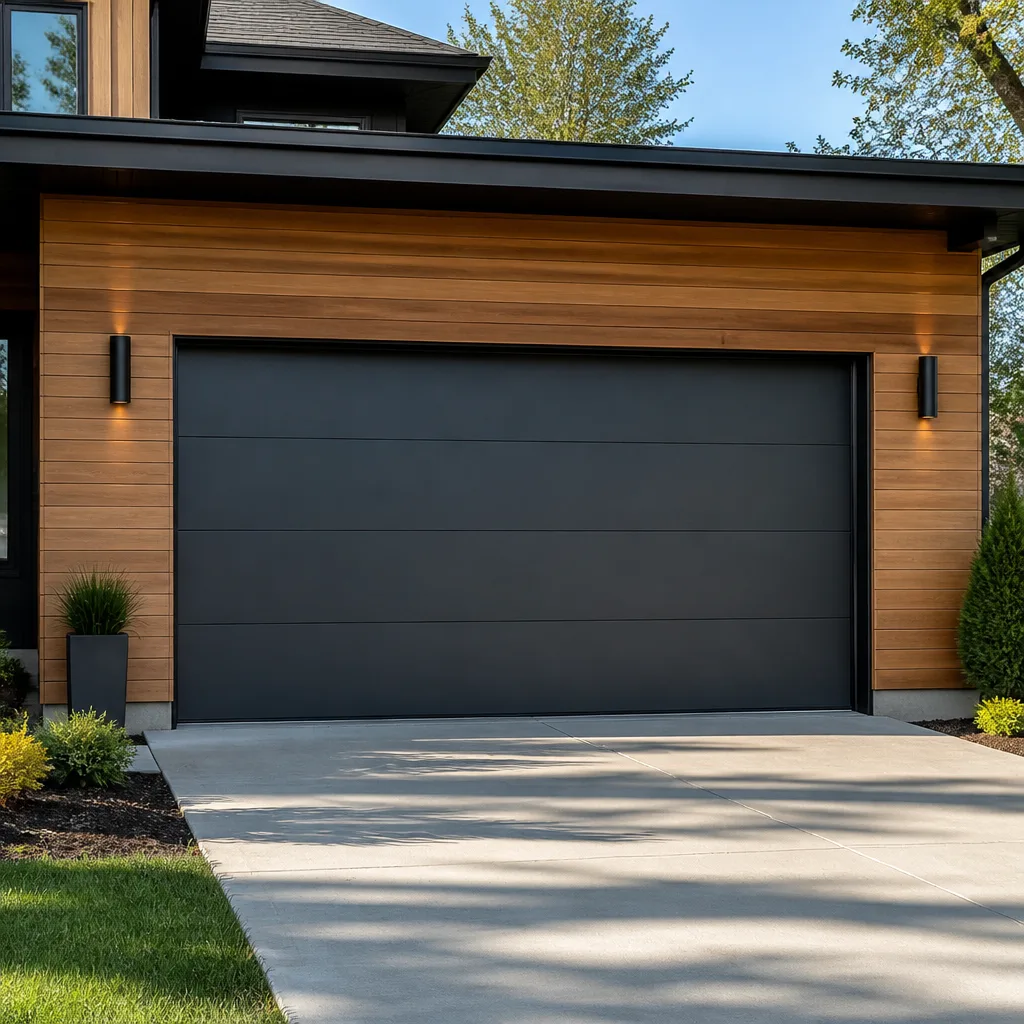 Modern flush
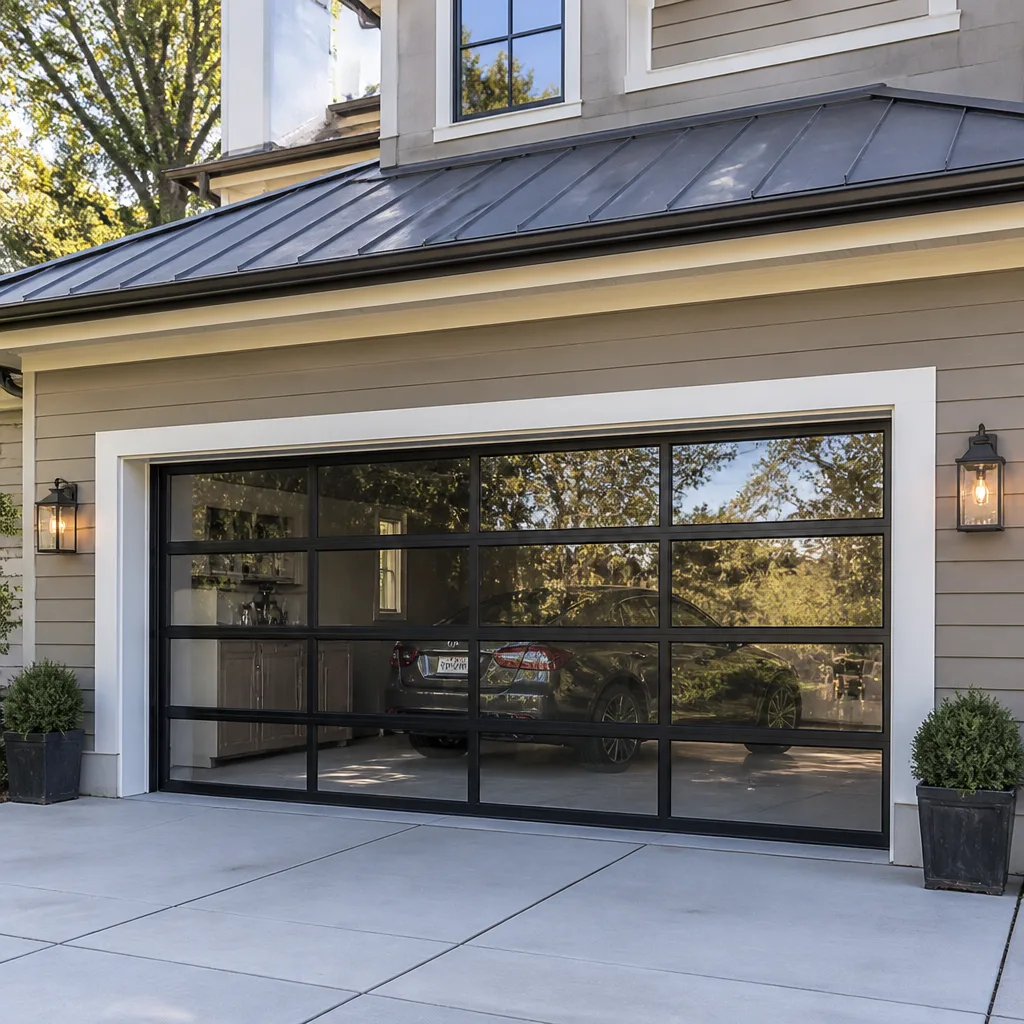 Full-view glass
 LiftMaster openers
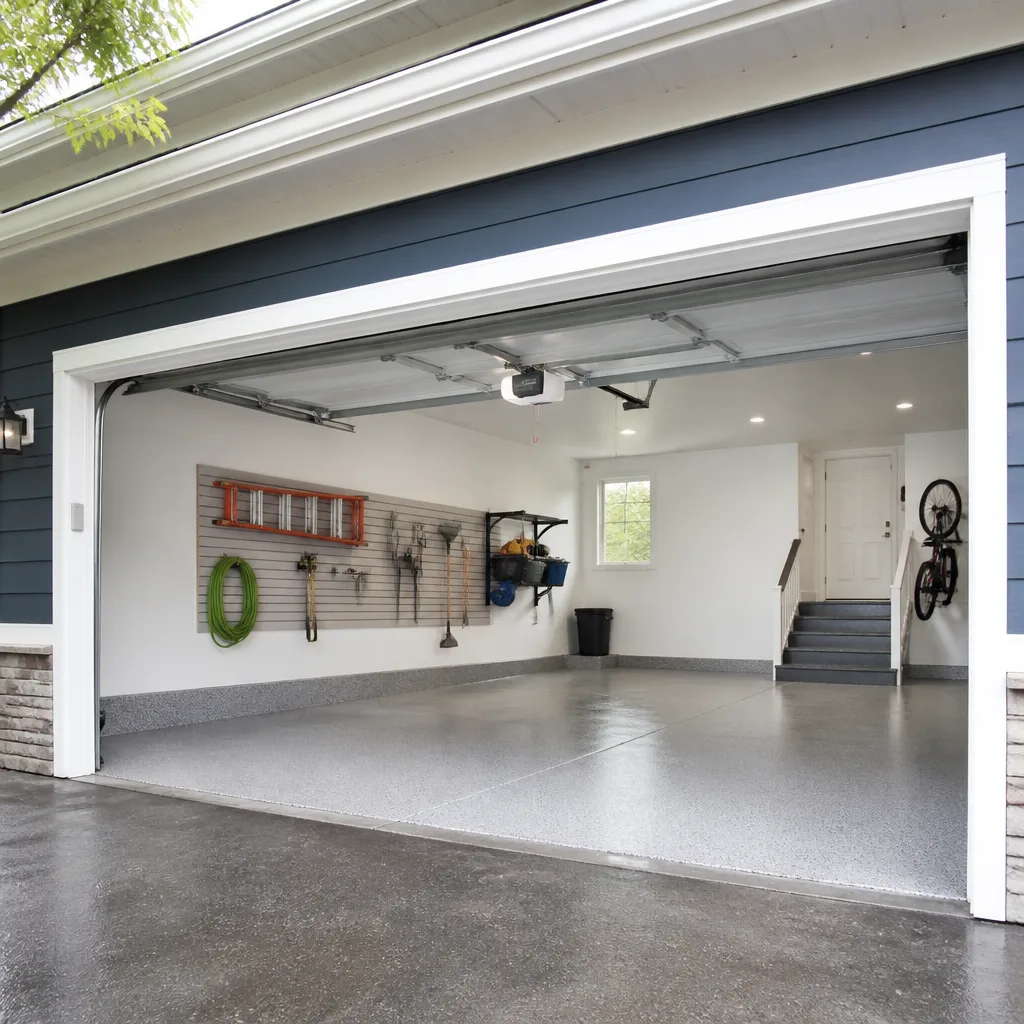 Chamberlain openers
Full 25-point door and opener safety check with every visit - springs, cables, rollers, tracks, and your LiftMaster or Chamberlain opener included
You get a price before we start. It does not change when the pro arrives.
Get your free estimateGarage Door Repair Maintenance Checklist for Reading Homeowners
The number-one cause of a garage door service call isn’t a broken spring or a dead opener. It’s a seized $4 roller that took a cable drum with it. That’s the pattern we see most: cheap parts that were never checked quietly wear out the expensive ones next to them. A door doesn’t fail all at once, either. It fails one component at a time, and each failed component speeds up the wear on the next. This guide walks you through the parts that fail first on the door-and-opener combinations most common in Reading, in the order they actually go, so you can catch them before they take something bigger down with them.
Quick Answer
A working garage door maintenance routine for a Reading home means lubricating rollers, hinges and the torsion spring once or twice a year, testing the door balance with a 10-second manual check, inspecting the weather seal for cracks and gaps before each freeze, and watching the torsion spring for wear signs you can see without touching it. Inspect in the order components fail: rollers first, then cables and drums, then the spring, then the seal, then the opener and safety reverse. Skip one step and the rest of the system works harder.
Styles & brands we work with
- Raised-panel steel
- Carriage house
- Modern flush
- Full-view glass
- LiftMaster openers
- Chamberlain openers
Table of Contents
- Why the Order of Your Checklist Matters
- Step 1: Rollers, the Cheapest Part That Breaks Everything Else
- Step 2: Cables and Cable Drums
- Step 3: Reading the Torsion Spring Before It Snaps
- Step 4: The 10-Second Balance Test
- Step 5: Weather Seals and Reading’s Freeze Cycles
- Step 6: The Right Lubricant for Each Part
- Step 7: Opener, Safety Reverse and Smart Controls
- Common Mistakes to Avoid
- When to Call a Professional
- Frequently Asked Questions
Why the Order of Your Checklist Matters
Most maintenance lists are alphabetical or random. Ours is built by failure frequency. That matters because a garage door is a load-sharing system, not a set of separate parts. When a nylon roller seizes, the door drags instead of rolling, the drag puts extra tension on the lift cables, the cables pull harder on the cable drum, and the spring has to work against more resistance than it was sized for. You end up replacing a spring when the actual culprit was a roller that cost less than a sandwich.
We’re a garage door specialist, which means we spend our days on this equipment, not on gutters and drywall and then a door at the end of the week. The technicians have up to 15 years of experience with the eight brands most often installed in this part of Pennsylvania, including Clopay, Amarr, Wayne Dalton and Genie. That background tells us something the alphabetical lists don’t: the order in which parts fail on the doors that are actually hanging in Reading garages.
The sequence below runs from the cheapest, most frequently worn parts up to the ones that cost the most to replace if you ignore the early warning signs. Work through them top to bottom, once or twice a year, and again after any winter that produced several hard freezes.
Step 1: Rollers, the Cheapest Part That Breaks Everything Else
Rollers are where every inspection should start. A standard door has a dozen or so of them, and they run in the track on either side of the door. They come in two styles: steel rollers and nylon rollers. Nylon is quieter and usually better in a home garage. But both wear, and both fail in the same way. The bearing in the center of the roller seizes, the roller stops turning, and the door skids along the track instead of rolling.
You can inspect rollers without taking anything apart. With the door down, stand at each side and look at the rollers where they sit in the hinges.
- Flat spots. A roller that has a flat face instead of a round one has stopped turning at some point and been dragged. It needs replacing.
- Grinding or squeaking on the move. Run the door up and down once, watching and listening. Noise at the roller is a bearing on the way out.
- Wobble. Grip the roller stem and check for play. A loose stem means a worn hinge, not just a worn roller.
- Rust-colored dust. A rust-orange powder around the roller is a bearing that’s been dry for a while.
Rollers are the least expensive part on the whole door and one of the most consequential. A seized roller raises the load on the opener, the cables and the spring every single time the door moves. If you only ever check one thing on this list, check the rollers.
Step 2: Cables and Cable Drums
Cables are the second thing that fails on a working door, and they usually fail because of a roller problem upstream. The cables run from the bottom corners of the door up to the cable drums on the shaft at the top. The drums are grooved spools that the cable winds onto as the door lifts. When the rollers drag, the cables wind under more stress than they’re designed for, and the strands fray.
Inspect cables from a safe distance, without touching them. A cable under spring tension is a lethal object if it lets go, so leave it alone and call a technician if anything looks wrong.
- Frayed strands. Look along the length of each cable for broken wires sticking out. A cable with any visible broken strand needs replacing, not repairing.
- Discoloration or kinks. A cable that has been overloaded will develop kinks or a shiny, stretched section.
- Uneven drum winding. Look up at the drums with the door closed. The cable should sit in the groove in neat, even wraps. A cable riding over itself or off the drum edge means something has shifted.
- Slack on one side. Both cables should have similar tension. If one is visibly looser, the door is out of balance.
Cable and drum failure is one of the two or three things we see most in Reading. It’s almost always preceded by a seized roller or a dry hinge. That’s the whole logic of this checklist: catch the small thing, protect the big thing.
Step 3: Reading the Torsion Spring Before It Snaps
You can inspect the torsion spring without touching it. That’s the point of this step: your eyes, not your hands. A torsion spring is the coiled steel bar across the top of the door frame that counterbalances the weight of the door. It’s the single most dangerous component in the whole system. It’s also the one with the clearest visual warning signs before it fails.
Do not attempt to adjust, unwind or replace a torsion spring yourself. The spring stores an enormous amount of energy, and it can release that energy through a winding bar or a cable in a fraction of a second. This is the job a trained technician should always do, and it’s about the only step on this list we wouldn’t want a homeowner attempting.
What to look at from a few feet back:
- Look for a gap in the coil. The most reliable sign of a spring about to fail is a visible gap between individual coils when the door is closed. A healthy spring has coils pressed tightly together at rest. A gap means the spring has stretched, and a stretched spring is a spring that has lost tension and is closer to breaking.
- Check for rust on the coil. Rust on the spring is both a sign of age and a real weakening factor. A rusty section of coil is a stress point.
- Look for a single bright line or hairline crack. A crack in the coil is a spring that’s about to let go. If you see one, stop using the door and call a technician.
- Listen for a loud pop. A torsion spring that breaks makes a sharp, loud noise, and the door becomes extremely heavy. If you hear that pop, leave the door alone and call for repair.
Springs come in matched pairs, and when one breaks, the other is almost always at the same point in its life. So a spring repair is usually a matched-pair job, and the price reflects that. We treat spring repair as a core service rather than an add-on because it’s the most common serious failure in the trade, and because it’s the job a general handyman shouldn’t take on.
Step 4: The 10-Second Balance Test
The balance test tells you whether your springs are holding tension before the opener starts straining itself. It takes ten seconds and a fair bit of arm strength, and it’s the single most useful thing you can do to protect an opener.
Here’s the test:
- Close the door and pull the emergency release cord, which disconnects the door from the opener. The door should now move by hand.
- Lift the door to about waist height.
- Let go.
A balanced door will stay where you let it go, or drift very slowly, with maybe a hand’s width of movement. A door that sinks quickly toward the floor under its own weight is a door whose springs have lost tension. A door that pulls itself upward is a door whose springs are wound too tight. Either way, the opener is fighting the door instead of assisting it, and that’s how openers burn out.
If your door drops on the test, don’t keep running it with the opener. Each cycle puts the opener motor and its drive gear under more load than it’s meant to take. Reconnect the release and call for spring service. If the door feels unusually heavy to lift, that’s a spring problem too, and it’s a reason to stop using the door until a technician has looked at it.
The reason this test is worth doing is cost. An opener is a much more expensive repair than a spring adjustment, and a door that fails the balance test will steadily push the opener toward failure.
Step 5: Weather Seals and Reading’s Freeze Cycles
Weather seals are the one part of the whole system that takes the worst of a Reading winter. Our climate swings through repeated freeze-and-thaw cycles, not one long deep freeze. Water gets into a crack in the seal or under a lifted edge, freezes overnight, and expands. That expansion is what turns a small gap into a real one.
The bottom seal (the rubber strip along the bottom of the door) is where most air and water get in. There are three states to look for:
- Cracked. The rubber has hardened and split, often along the bottom edge. A cracked seal lets in cold air, and in the summers it lets in insects and mice. A crack will also worsen with each freeze.
- Compressed. The seal has been flattened to the door so it no longer rises to meet the floor. A compressed seal leaves a light gap you can see under the door when it’s closed.
- Lifted. One edge of the seal has pulled away from the door or the floor. This is the one to fix before winter, because a lifted seal is the exact shape of a gap that a freeze will widen.
Run the seal check in late fall, before the first hard freeze, and again in early spring. Also look at the perimeter seal at the sides and top of the door, and at the threshold where the floor meets the door. A door that doesn’t seal properly also costs you on heating and cooling, and it’s the kind of problem that a proper weather seal replacement eliminates in an hour or two.
Step 6: The Right Lubricant for Each Part
Here’s where the generic checklists get it wrong. They say “oil your door” as if one product fits every part. It doesn’t. The right lubricant depends on the part, and the wrong lubricant can actually do damage over time.
Use a garage door lubricant, which is a silicone-based or white-lithium grease made for the purpose. Here’s the part-by-part breakdown:
- Rollers and hinges. A light coat of garage door lubricant on the roller stems and hinge pivots. That’s where the metal moves against metal.
- Torsion springs. A light film of garage door lubricant on the coils reduces friction and slows rust. Not WD-40.
- Tracks. A very light wipe of lubricant along the inside of the vertical track, but not enough to attract dust. Leave the horizontal track mostly dry.
- Opener rail. Follow the manufacturer’s instruction. Most modern belt and screw drive openers need little or no lubrication on the rail, and over-lubricating is worse than leaving it alone.
- Never on cables. Cables are load-bearing steel and shouldn’t be greased.
Why WD-40 on springs is a technician’s pet peeve: it’s a solvent and a light water displacer, not a long-term lubricant. It evaporates quickly and leaves the spring drier than before, and it strips the light film that’s protecting the coil from rust. A dry spring rusts faster, and a rusty spring is closer to failure. The solvent in WD-40 can also degrade the rubber on seals and rollers if it gets oversprayed. Use garage door lubricant on the spring, not WD-40.
Step 7: Opener, Safety Reverse and Smart Controls
The opener is the last thing to check in the sequence because everything above it affects how hard the opener has to work. If the rollers, cables, springs and balance are all healthy, an opener is usually fine. If any of them isn’t, the opener is the part that pays the price.
Test the safety reverse. Put a 2×4 flat on the floor in the door’s path and close the door with the opener. The door should reverse within a couple of seconds of touching the board. If it doesn’t, the opener needs adjustment before it’s safe to use. Also check the photo-eye sensors at the base of the track: they should be aligned and clean, and the opener’s LED indicator should be solid, not blinking.
Check the opener’s mechanical condition. Listen to the opener run the door up and down. A healthy opener sounds consistent. A grinding or a rough spot at the same point in the cycle suggests a worn gear or a dry rail. If the opener runs but the door doesn’t move, the drive gear or the release may be the problem.
Look at the smart-home side. If you’re running a LiftMaster or Chamberlain/MyQ system, check the Wi-Fi link and the app on the same schedule as your other maintenance. Genie’s smart openers have their own app, and a dropped connection is usually a router or a firmware issue, not a door problem. A dead remote with a working wall button is almost always a battery, while a remote that works only when close by is a radio frequency issue at the opener.
We work on the brand already in your garage, whether that’s a Genie, a LiftMaster, a Chamberlain, a Wayne Dalton, an Amarr, a Clopay, a Craftsman or a Raynor. Brand-specific diagnostics save a service visit because the technician knows the failure points for that particular model.
Common Mistakes to Avoid
- Using WD-40 on the springs. It’s a solvent, not a lubricant, and it leaves the spring drier and more prone to rust than before. Use the right garage door lubricant.
- Ignoring a lazy roller. The roller that’s seized is the one that’s loading the cable and the drum. Replacing a roller early is a fraction of what a cable or drum repair will cost.
- Running a door that’s out of balance. If the balance test fails, keep the door still. Each cycle on the opener makes the eventual repair more expensive.
- Painting or greasing the horizontal track. Dust sticks to it, the rollers skid, and you’ve created the exact failure mode the maintenance was supposed to prevent.
- Skipping the pre-winter seal check. A cracked or lifted seal gets worse every freeze in a Reading winter. Checking the seal in autumn is cheaper than fixing a gap in January.
- Adjusting or rewinding a torsion spring yourself. This is the one thing on the checklist you should never attempt. It’s a genuinely dangerous job that needs a trained technician.
- Assuming a dead opener needs replacing. Most dead openers are a repair, not a replacement. A garage door specialist will find the actual fault before recommending new hardware.
When to Call a Professional
Some of this checklist is genuinely doable by a careful homeowner, and some of it isn’t. Call a specialist for any of the following: a broken torsion spring or a spring with a visible gap or crack, a frayed or loose cable, a cable off its drum, a door that’s come out of its track, a door that fails the balance test, a safety reverse that doesn’t work, or any grinding or popping sound from the door or opener. Those are all reasons to stop using the door and bring in a technician.
We treat spring repair as a core service and handle both torsion and extension springs. We also handle opener repair on the major smart and legacy systems, garage door repair for out-of-track doors and panel damage, and garage door installation for a door that’s past the point of repair. If you’re not sure which category your problem falls into, describe the symptoms and we’ll point you in the right direction.
Reading Garage Door Repair Pros offers free estimates in Reading. Call (844) 660-0516. We answer 24/7, and fast dispatch from 7am to 7pm.
Frequently Asked Questions
Lubricate the rollers, hinges and torsion spring once or twice a year, and again after a winter with a lot of freeze-thaw cycling. The freeze cycles here work seals and metal harder than a single deep freeze, so spring and fall are the natural points to do it. Use a garage door lubricant, not WD-40. Call (844) 660-0516 for an exact quote on service; estimates are free.
No. A torsion spring stores enough energy to cause serious injury if it releases unexpectedly, and a broken spring should always be replaced by a trained technician. The cable tension and winding procedure are dangerous without the right tools and experience. We handle spring repair as a core service. Call (844) 660-0516.
WD-40 is a solvent and a light water displacer, not a long-term lubricant. It evaporates and leaves the spring dry, and the solvent can strip the protective film off the coil and degrade rubber seals it contacts. A dry spring rusts faster. Use a dedicated garage door lubricant instead.
Disconnect the opener with the release cord, lift the door to waist height, and let go. A balanced door stays roughly in place. A door that drops quickly has springs that lost tension, and a door that rises on its own is over-tensioned. Either way the opener is straining, and that’s how openers fail. Call (844) 660-0516 if the test fails.
Look for a visible gap between the coils when the door is closed, rust on the coil, or a single bright line or hairline crack in the steel. Any of those means the spring is stretched, weakened or cracked. Stop using the door and call a technician. Don’t try to adjust the spring yourself.
No. The price is quoted and agreed before any work starts. We give you a written estimate first, and that written estimate sets the final price. Call (844) 660-0516 for a free estimate.
The Bottom Line
The order matters more than the length of the checklist. Check rollers first, then cables and drums, then the spring, then the spring balance test, then the weather seal for Reading’s freeze cycles, then the lubricants and the opener. Catch the cheap part early and you protect the expensive parts around it. The parts of this checklist a careful homeowner can do safely are worth doing. The spring, the cables and any balance failure are jobs for a trained specialist. Reading Garage Door Repair Pros is a garage door specialist on all four service lines, repair, opener repair, spring repair and installation, and we work on the brand already in your garage, from LiftMaster to Raynor. Call (844) 660-0516 for a free estimate. We answer 24/7, and fast dispatch from 7am to 7pm.
Written by the team at Reading Garage Door Repair Pros.
See the difference
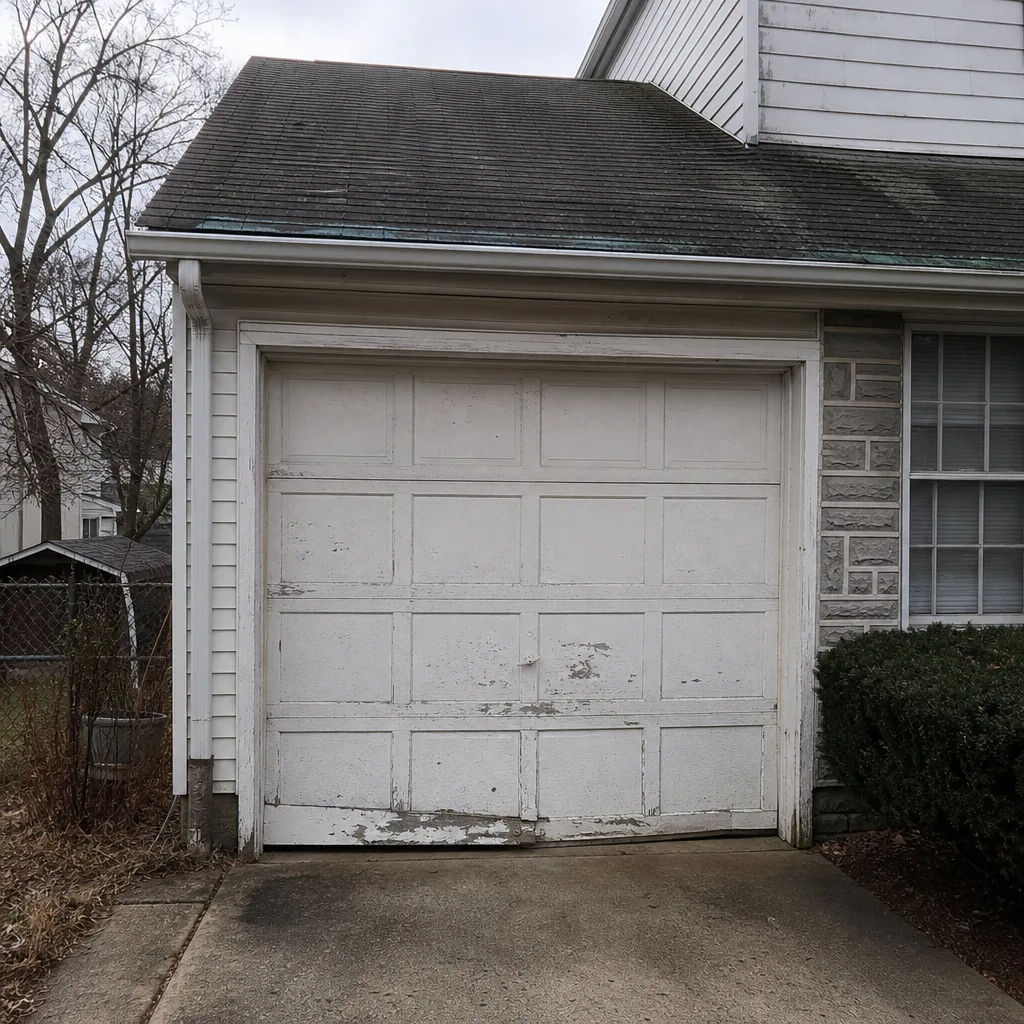 Before
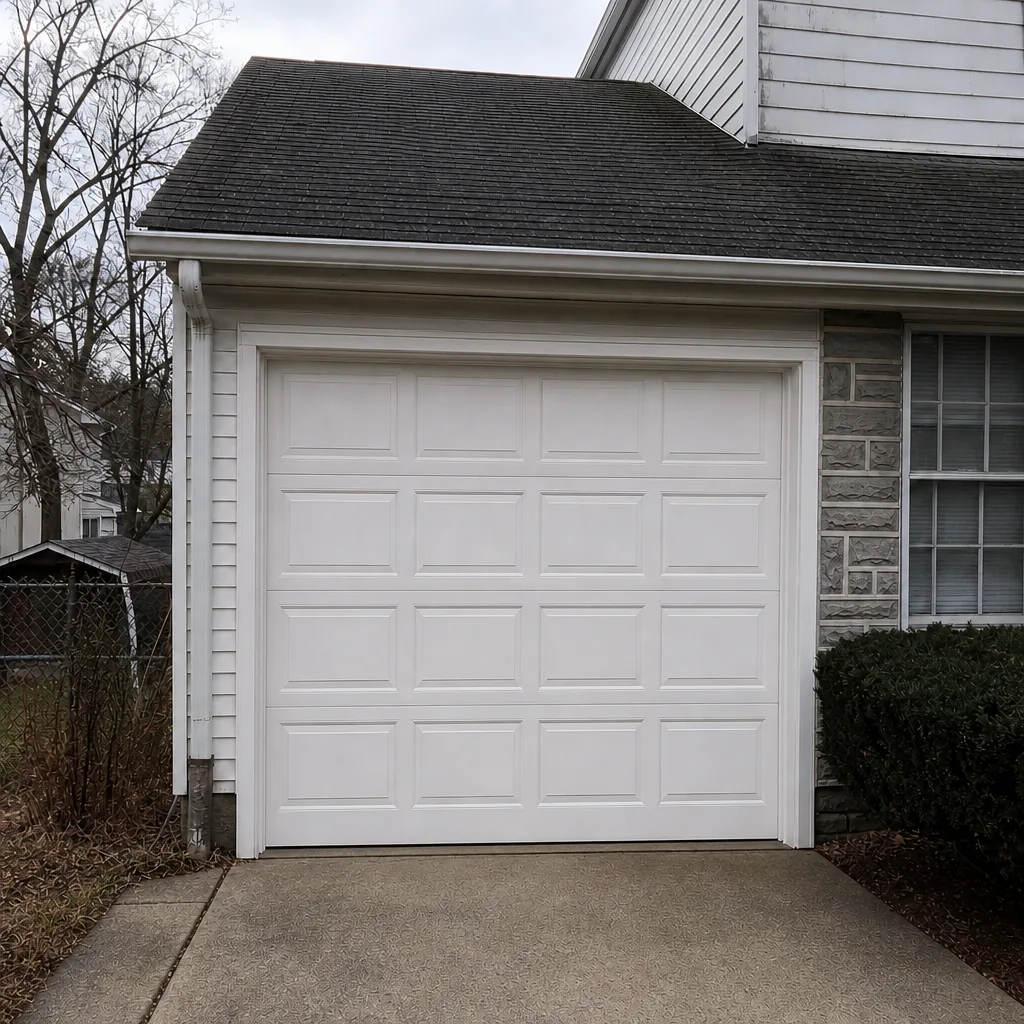 After
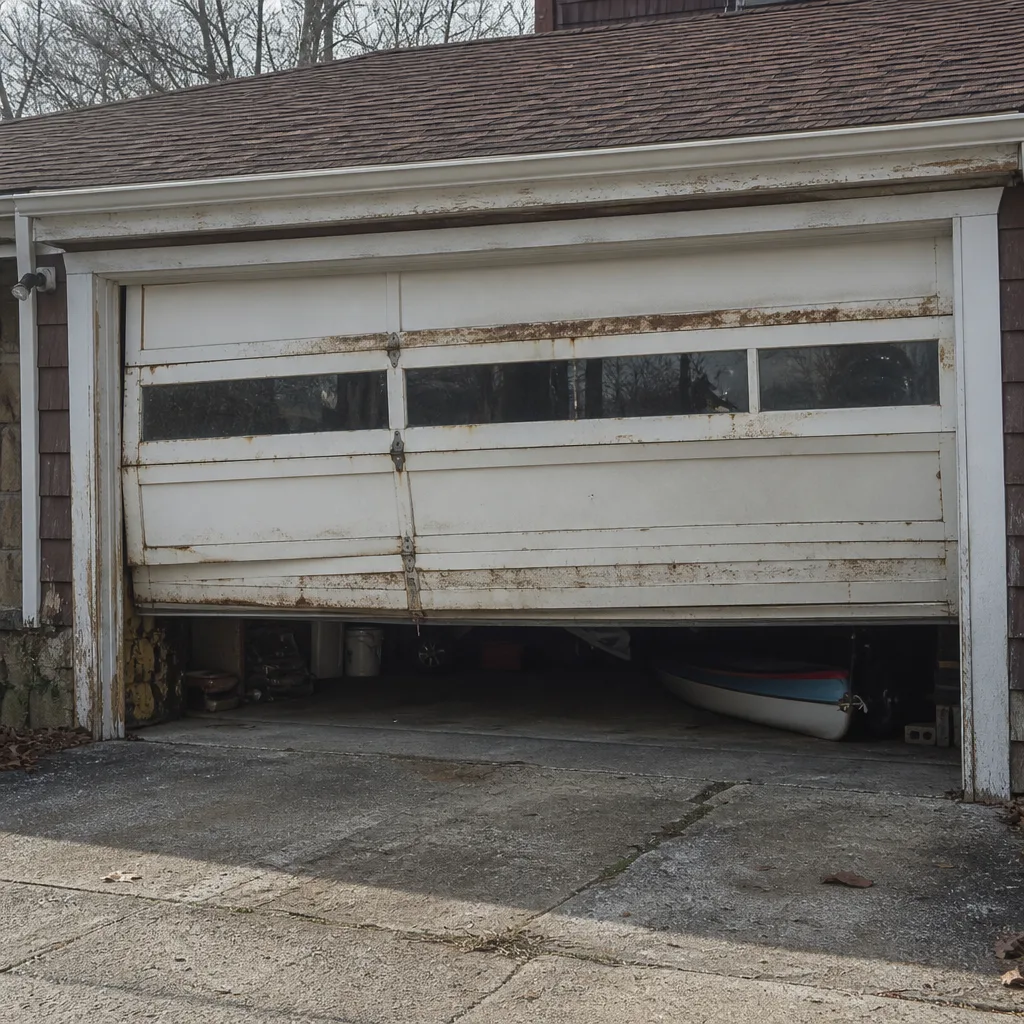 Before
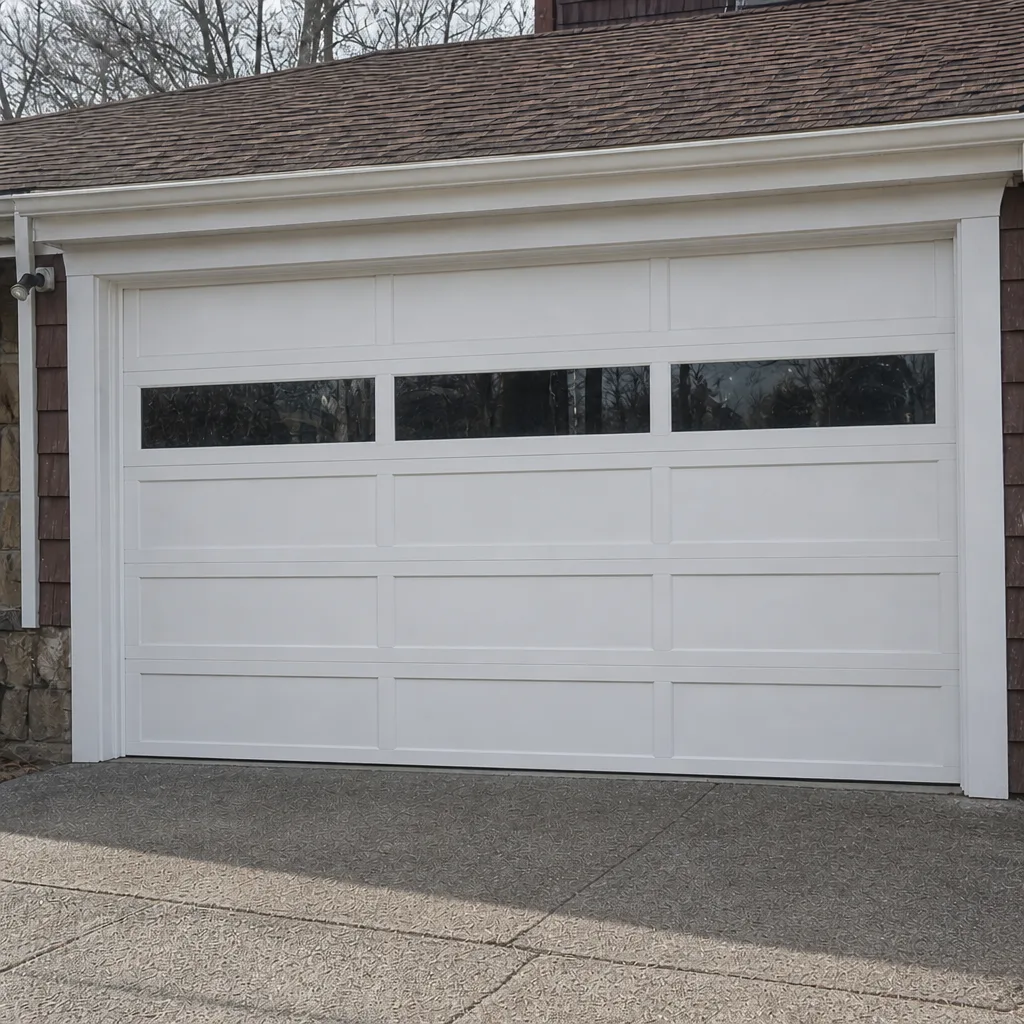 After
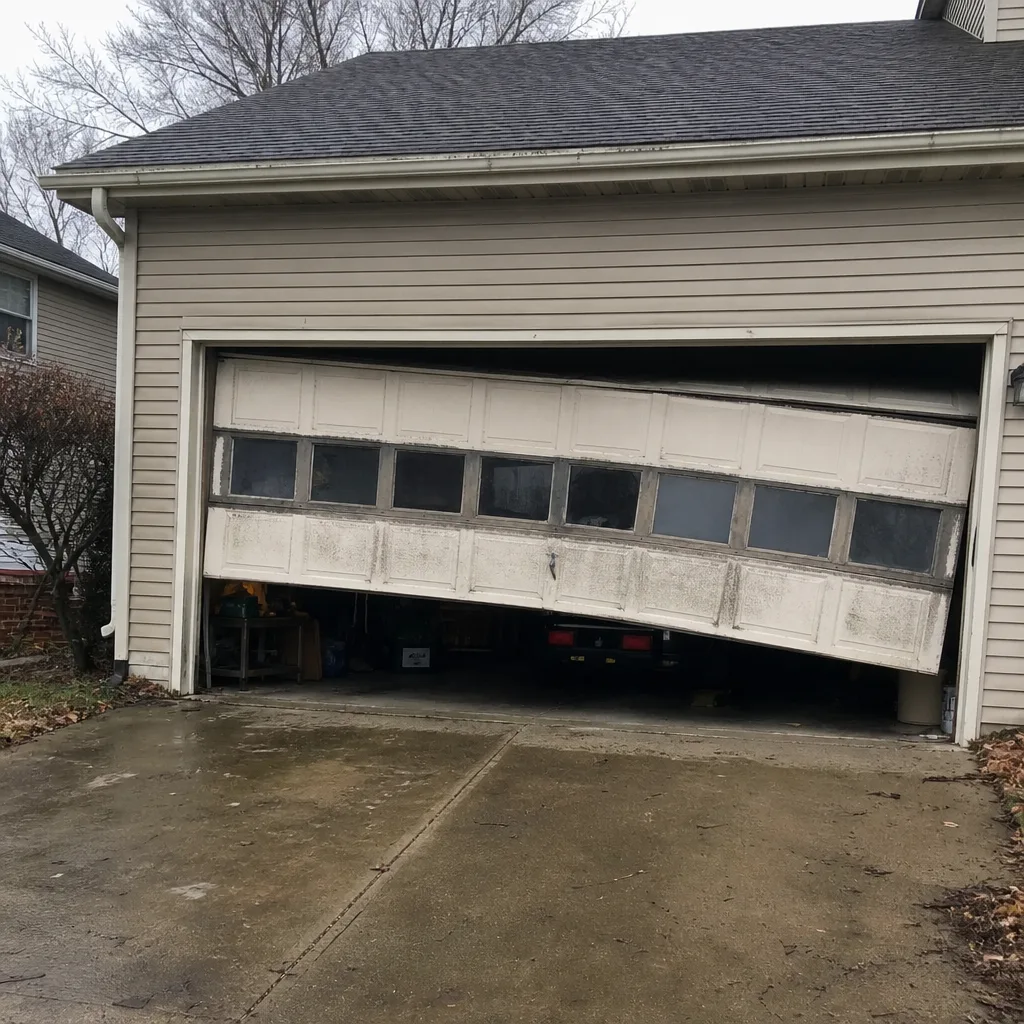 Before
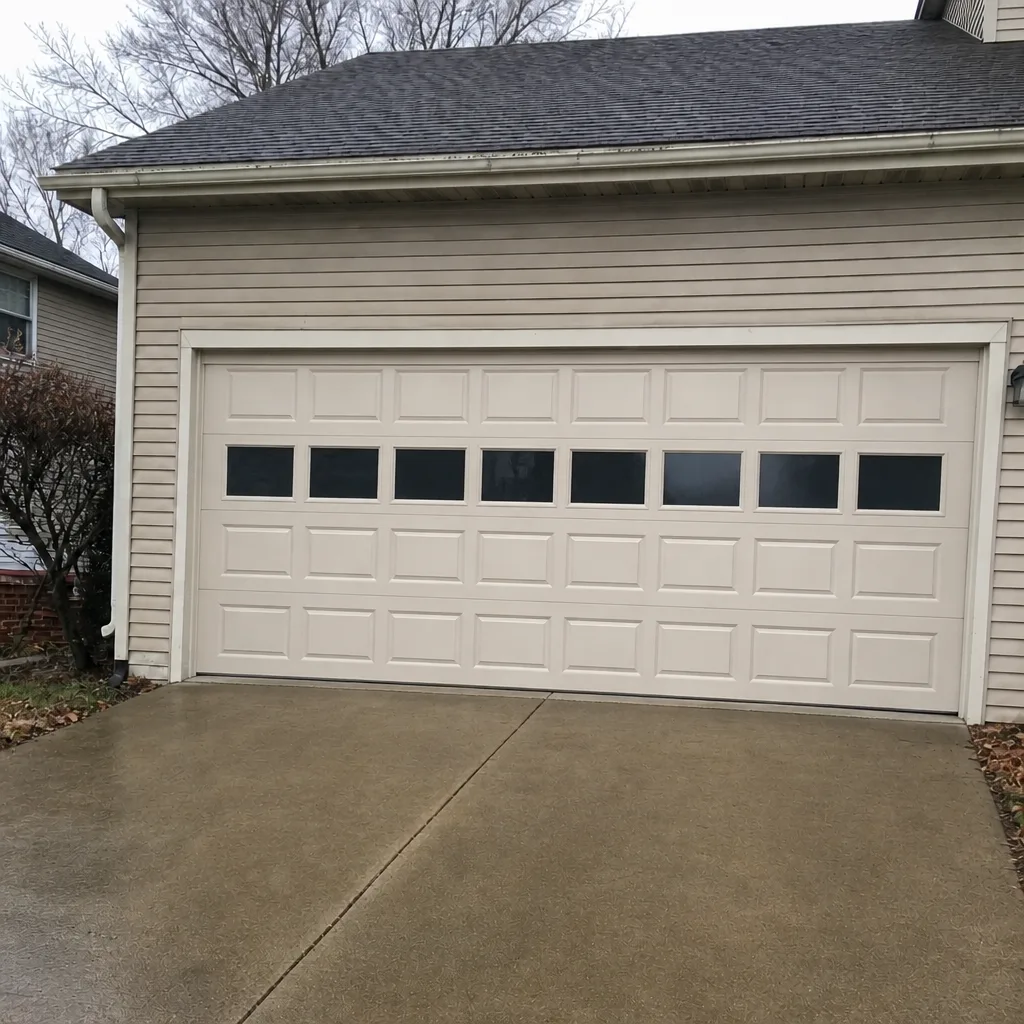 After